Squeak In the News 10/8

The Teal Pumpkin Project

By Julia H.

For most families, Halloween is all about costumes, candy, and community fun. For some families, however, Halloween comes with a big challenge - how to avoid exposing loved ones to potentially deadly food allergens while still allowing them to participate in the holiday fun. The good news is that it's easy to make trick-ore-treating more inclusive by simply making the choice to offer a non-food treat option to people who visit your home on Halloween!

Here are some tips from the Teal Pumpkin Project, which advocates for allergy-related Halloween safety:

  • Offer candy and treats in separate bowls so as not to cross-contaminate the non-food treats.

  • Try to choose toys that don't include common allergens, like molding dough (which sometimes includes wheat) or balloons (which usually include latex).

  • Make sure trick-or-treaters know that you have a toy option.
  • Tell others you're planning to include a non-candy option; the more people who offer alternatives, the more inclusive Halloween can be!

Got tips of your own? Send them to weeklysqueak@bothellfamilycoop.org and you may be featured in an upcoming Squeak!

Pumpkins, Pumpkins, and More Pumpkins: Tips for the Pumpkin Patch and for Decorating the Pumpkin you Take Home

By Florence B.

It’s October, and we’ve got a great curriculum set up to celebrate the month that’s all about Autumn fun! We’ll be covering Fall (because who can’t help but fall for Fall with all the fun it brings?!), pumpkins, corn, and feelings and emotions. You’ll see our Autumn Home Center set up in the dramatic play area with costumes making an appearance the last week in October (because we can’t have October without some Halloween and make-believe fun!)!

Blog2_01_PumpkinsAtSchool.JPG

Let’s rewind a bit and focus on that second bit of awesomeness I mentioned in the curriculum--pumpkins! Our first excursion is coming up in mid-October! Wait a sec--what’s an excursion? Well it’s one of the fun things that BFCP provides so that members and their children can explore the many fantastic places that the greater Seattle area has to offer! These mini-adventures allow us to learn about our community while strengthening our own community at school, because who doesn’t like to go and learn about new things and visit places with friends?

For those of you not familiar with the classes BFCP has to offer, the parent & baby and toddler classes both go on two excursions each year, the 2/3 class goes on three, the 3/4 class goes on six, and the ever adventurous Pre-K class goes on six to eight a year! For those of you alumni, I’m sure this is one of your favorite things to do in the program; and for those of us new folk, I’m sure it’ll end up being one of our favorites, too!

Well, pumpkins...excursions; I guess it can’t be too hard to guess where the first excursion will take us! We’re heading to a pumpkin farm! Check your class calendar for the date and time for when your specific class is going; each class will be going during their respective class time! For those in the parent & baby class, after we enjoy a picnic lunch at Meadowdale Park, we’ll head to the Fairbanks Animal Farm and Pumpkin Patch! We’ll be able to check out the farm animals as well as take the Hidden Bear Trail to visit Pumpkin Land to find our perfect Fall favorite pumpkin (or gourd if that’s your fancy--they’ll have plenty of those, too)! For the rest of the classes, we’ll head out to the The Farm at Swan’s Trail. We’ll explore some of their 50-acre pumpkin patch, go on wagon hay rides, and check out their Fall Festival Fun event, which includes a fantastic play area as well as farm animals!

Blog2_02_PumpkinPatch.jpg

Here are some handy tips for visiting any kind of pumpkin farm:

1) Have your camera ready at all times, because there’s a good chance your kids will have a blast! You may find your kids pointing at little pumpkins, big pumpkins, different colored pumpkins, and pumpkins that you cannot discern why your kid is pointing at them. BUT, they will have a huge smile on their face so you won’t want to miss that!

Blog2_03_Pointing.JPG

2) Get dressed for mess! Let’s face it; pumpkins don’t grow in nice bins like the grocery store will have us believe. If it’s raining or has rained during any of the days before, there will likely be mud, and no matter your best efforts, that mud will get on you. If you have rain boots, wear them! Depending on the type of pumpkin patch, rain boots may or may not work for your little one. Some places have lots of thick vines on the ground that might be hard to maneuver in the larger rainboot footwear. Be prepared for little feet slipping out of boots, so pack extra socks or even an extra pair of sneakers!

3) Bring large trash bags and a large cardboard box (or something that can stop that round, muddy vegetable from making your trunk look like a mud fight happened and your trunk lost) if you plan on bringing a pumpkin home (and really, who wouldn’t want to take a pumpkin home?). Oh… this we learned the hard way. Once you picked out that once-in-a-lifetime specimen of all-that-is-great-in-the-world-of-pumpkins (at least according to your child), you will have to figure out a way to get said pumpkin home, regardless of how muddy it is and the fact that you just cleaned out your trunk. With. A. Vacuum.

4) If you are terrible at judging size, bring a string to help you take measurements out in the field. Many pumpkin farms have you ‘size’ your pumpkin yourself, meaning they have example pumpkins ordered by size and price so that you can compare the one(s) you find against theirs and figure out how much you owe. If you don’t want a surprise when you go to check out, take a measurement of the pumpkin in your budget beforehand!

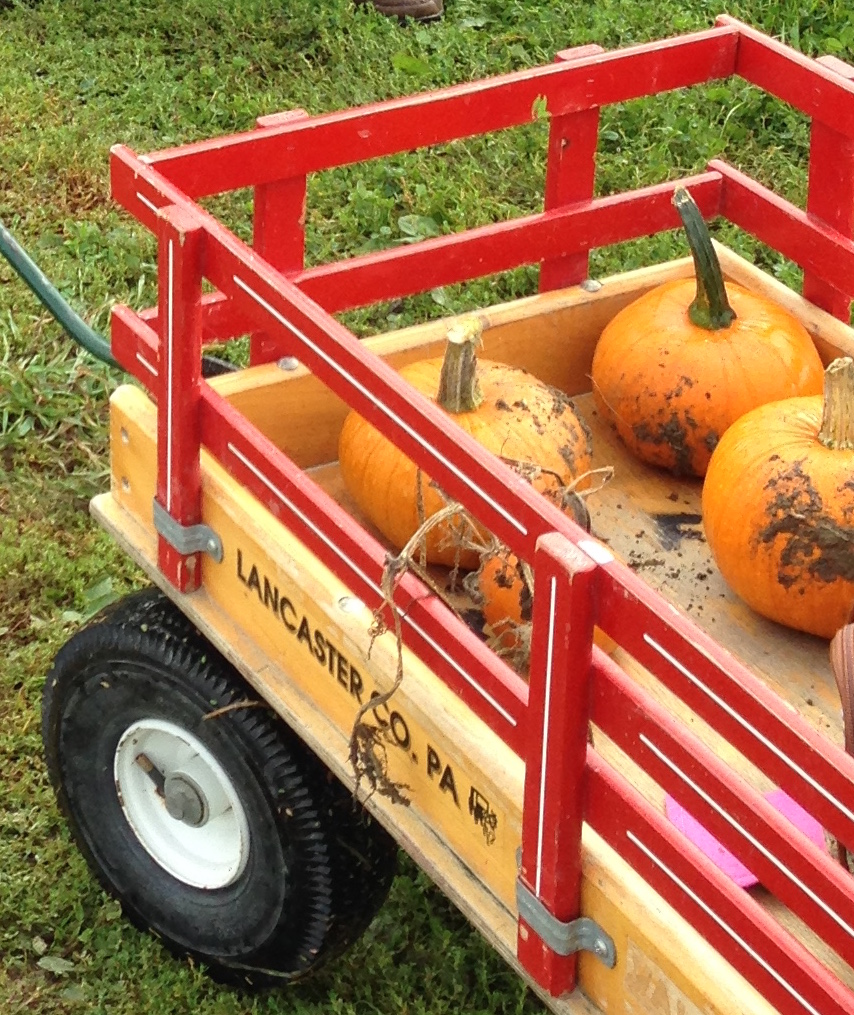
5) Bring a bag! If you’re planning on getting many little pumpkins, consider bringing a very sturdy bag, kind of like those heavier duty reusable shopping bags. While most pumpkin patches have wheelbarrows or wagons to help you lug around your pumpkins, they’re usually limited and are best used when going from the pumpkin patch to your car (trying to maneuver a wheelbarrow in a pumpkin patch is not the easiest thing to do). With the bag, you can place it down when needed (even as a ‘this-is-taken’ sign when placed next to bigger pumpkins you may set aside) and follow your kiddo as they find another amazingly awesome gourd that you must take home!

Blog2_04_wagon.JPG

Alright! So you’ve made it home and you have your pumpkin(s)! Now what? Well, now you can have even more fun! The fun doesn’t end when you leave the excursion! Don’t forget to share what you and your kiddos ended up doing by posting pics in your class Facebook pages! AND if you’re feeling extra proud of your creation, share with the main BFCP Facebook page!

If your infant, toddler, or preschooler doesn’t quite have the dexterity or skill to carve a pumpkin yet, (yes, let’s says it’s because the kids can’t carve, not us) don’t worry; I’ve got some ideas for decorating those pumpkins right here for you!

1) Wait a sec--why do anything at all?! You have an awesome pumpkin (or pumpkins!) that you just spent time picking out with your kiddo. Let that veggie shine in all its natural glory as fall decoration at its best! By the way, pumpkins can last quite a while as long as the skin is solid but degrade rapidly once you carve or break the skin, so keep that in mind if you want your pumpkin greeting your Halloween visitors!

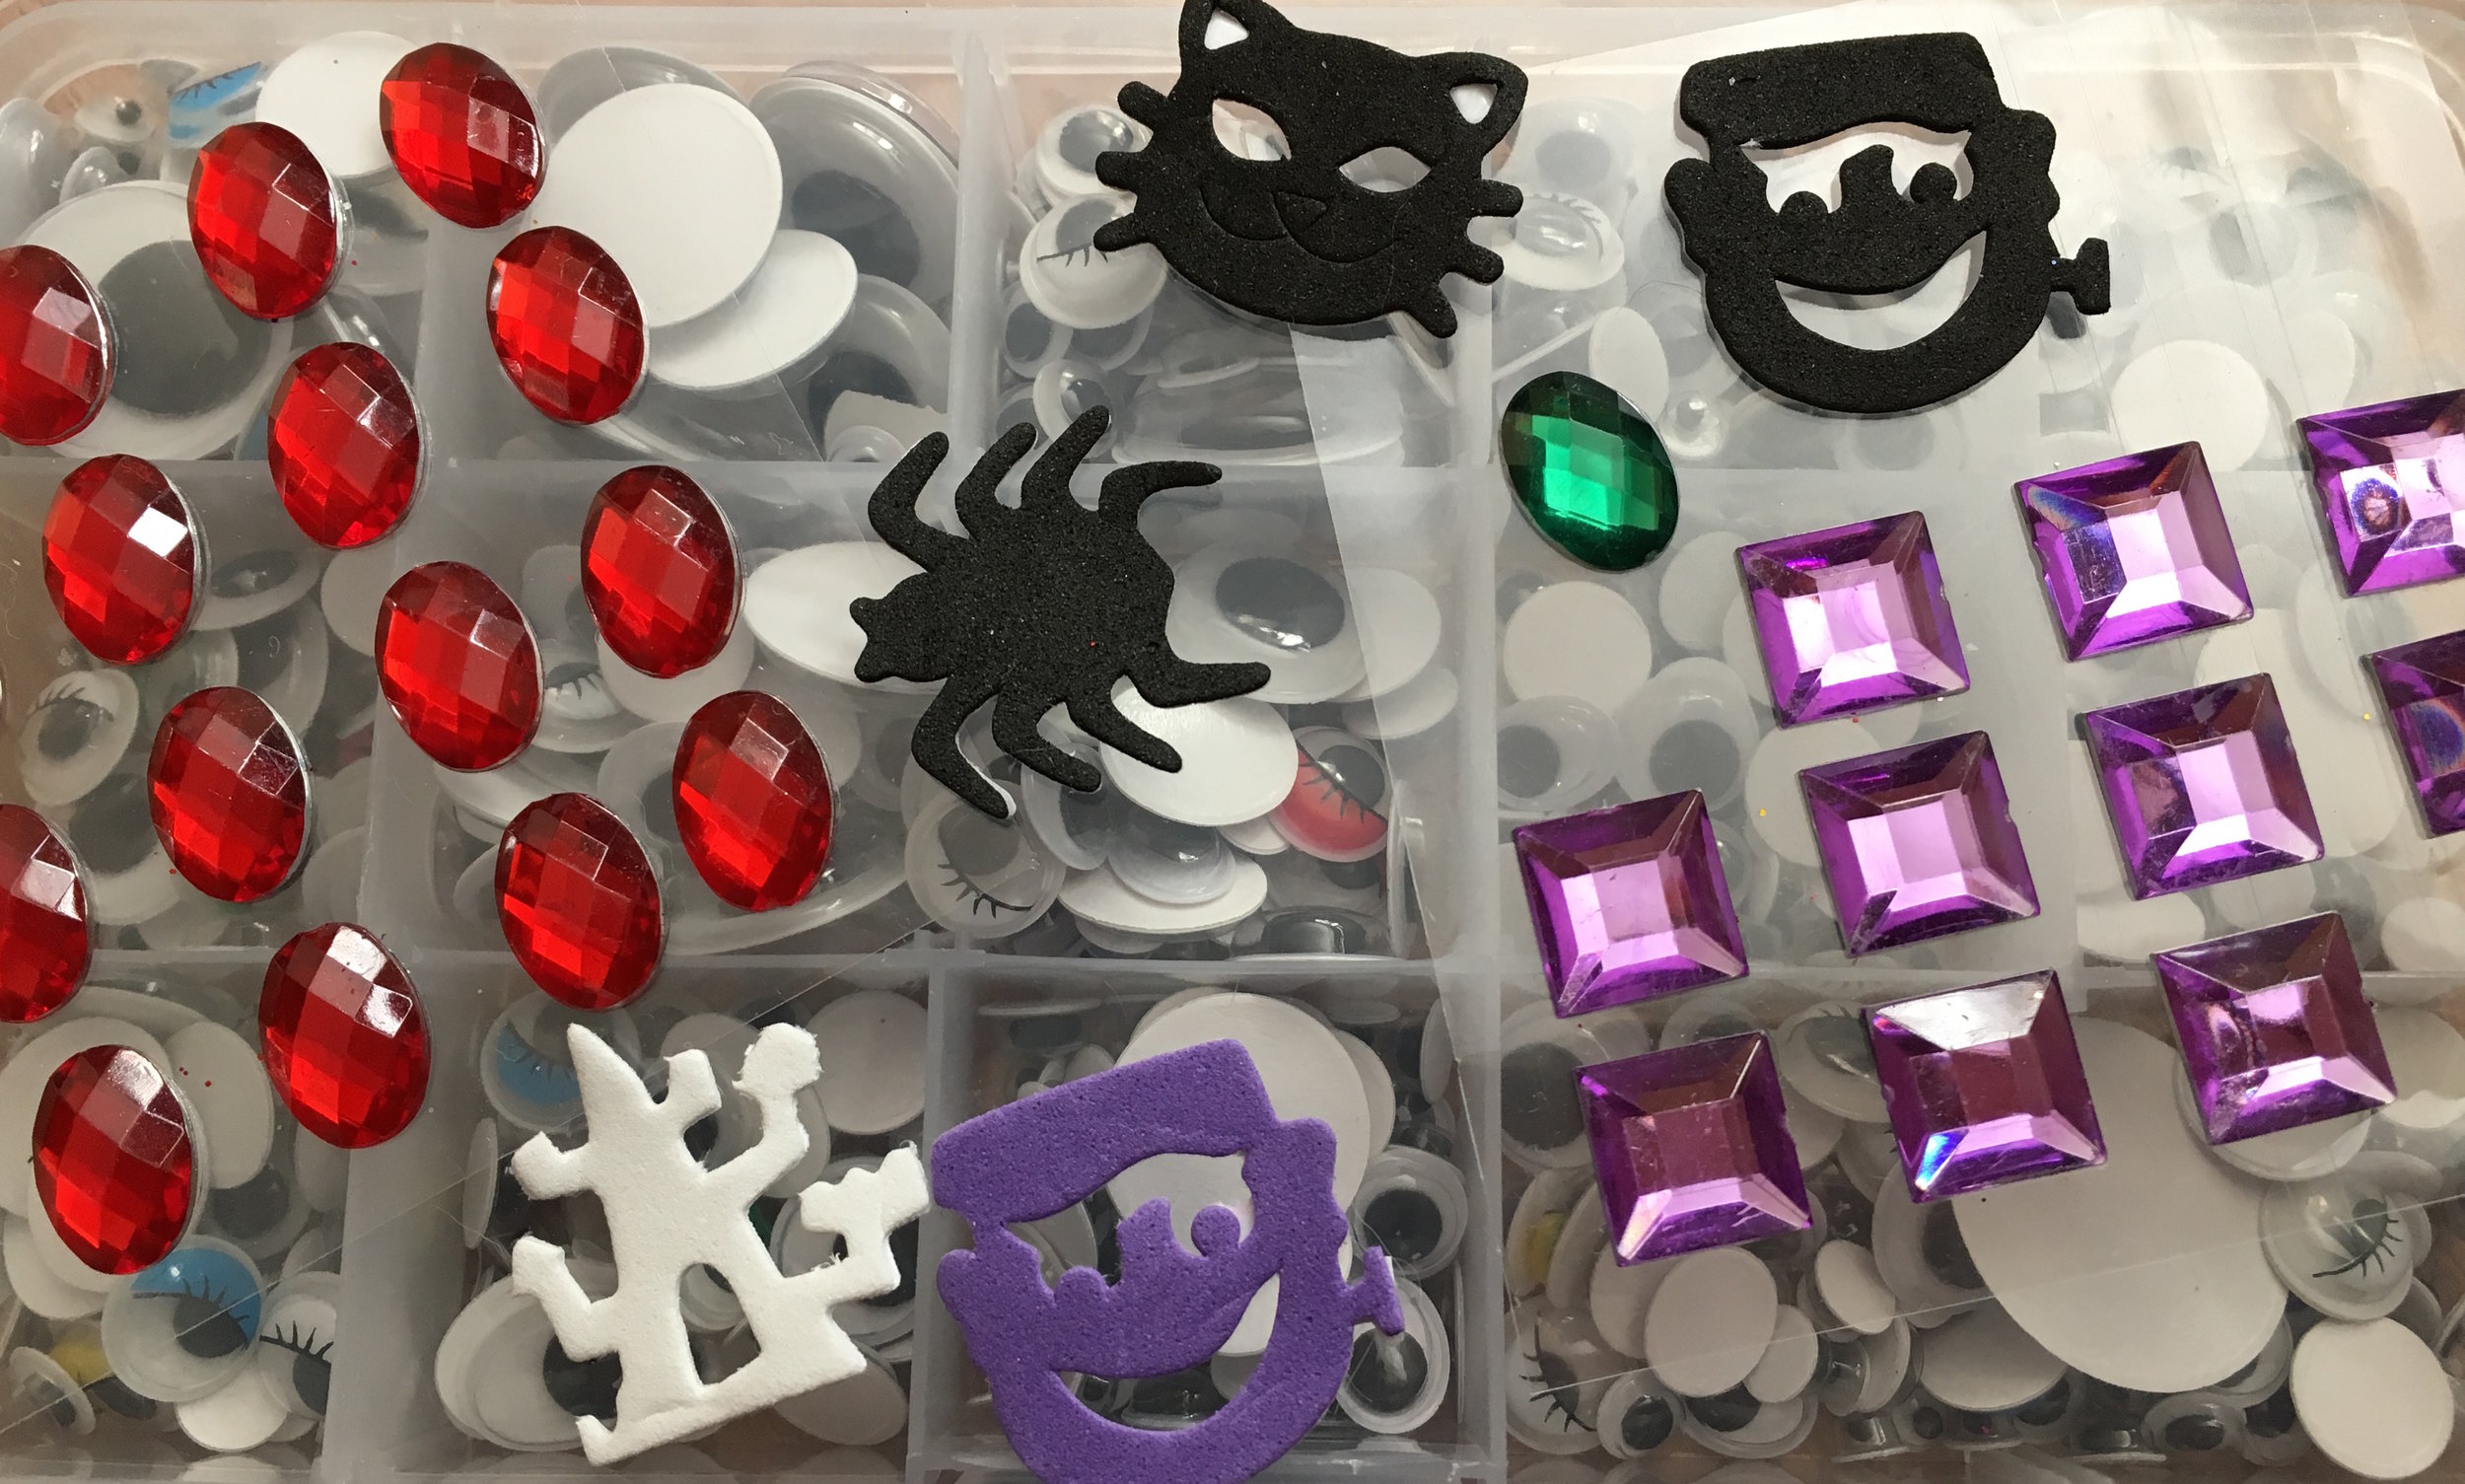
2) Stickers! Who doesn’t love stickers? ‘Tis the season for Halloween stickers so pick some up and have your kiddo go wild! Smaller stickers work better depending on pumpkin curve, so keep that in mind! You can also find some “googly eye” stickers to bring your pumpkin to life! If you’re planning on showing your new work of adhesive art outside, plastic-based or foam stickers work great so they won’t get ruined by moisture like the paper ones!

Blog2_05_stickers.JPG

3) Markers! If you’re not quite at the point of handing your kiddo a Sharpie and hoping for the best, go with good old washable markers! When your kiddo is done making their masterpiece, you can trace over the art with permanent markers to make their design ‘pop’! OR...spray with a sealant and call it a day!

4) Paint! Grab a smock, put on some old clothes, and take the acrylic paints off the highest shelf you have, because painting a pumpkin is a great way to let your little budding artist shine! For a 3D effect, look no further than puffy paint for a one-step colored 3D effect or tacky glue as your 3D design primer before painting.

Blog2_06_painting.JPG

5) Paint...WITH glue and glitter! If you’re brave and entrusted with the mightiest of vacuums, grab some clear-dry glue, food dye (or watercolor), and bottles of glitter (also sequins, bits of tissue paper...you get the idea!). Water down the glue a bit (not too much!) to make it easier to paint (or use as is), and then sprinkle your glitter after painting. Add the dyes to the glue if you want more color! If you use washable glue or tissue paper, make sure to use a sealant before placing outside! Tip: if it looks like a fairy stopped by and left an explosion of pixie dust at your house, you can use contact paper, lint removers, or plain tape to pick up strays that your vacuum rejects!

6) Crayon drip! So you know all those broken crayons that can’t be used for coloring any more (at least according to your child) or that stash of freebie crayons you keep getting from restaurants in the same three colors? Never fear, those crayons are the stars of this idea! Arm yourself with some glue, a hair dryer, and aforementioned crayons, and you’ve got yourself the makings of a fun and unique way to decorate! Glue (tacky glue is great) your peeled crayon bits at the top of the pumpkin, let the hair dryer melt them, and then have gravity do the rest! You can keep adding more layers, so keep going!

7) Carve! Yes, I have to include this Halloween staple even though this is a “list of ideas if you don’t want to carve your pumpkin” (details, meh)! As you lament your artistic ability, remember it’s all about the journey for you and your kiddo, not the destination. No matter the age, taking out the pumpkin innards is a messy blast! Younger kids can enjoy the sensory adventure as they investigate the pumpkin seeds and pulp. Try to pick out the seeds and put them in a cup, use a spoon to mix, smear the pulp around--there’s so for these investigators to do! Once you pick out a design for your pumpkin, your kiddo can help transfer it over. You can use contact paper to draw directly on the pumpkin and have your kiddo poke or trace the lines of your design onto the pumpkin. They just need to bruise the skin a little for you to see the design when you take the contact paper off. Any pieces you remove from the pumpkin as you carve goes straight to your kids to explore. Cut a hole through and remove a big chunk; investigate the difference between the tough pumpkin skin, the soft inner flesh, and the slimy pulp. Chip away at the skin for your design and show the color differences between skin and pumpkin flesh. When you’re done and drop a light inside, show the differences with the carved sections versus the skin. What about the areas that were carved deeper? What about the hole you cut through?
Blog2_07_carving.JPG

Well, there you have it for this week’s post about pumpkins! Sound off in the comments if you have any tips or ideas about pumpkins to share! If you have feedback or ideas you’d like to see featured in future blog articles, send me an email at blog@bothellfamilycoop.org.

Sliding into Week Three

By Florence B.

Can you believe it? We’re already at week 3 at school! We’ve made it through the “slow start” week where we were introduced to our new classes, and then we made it through the first official week of school routines! While we all had different experiences--parents stay with kiddos in the younger classes while parents in the older classes get the opportunity to drop off kiddos (some more successfully than others!)--we had one thing in common: fun and an opportunity to play and meet new friends!

Did you notice anything different about the school between week 1 and 2? I hope you did! We had the fall work party--and by party, I mean party! Together, we worked to spruce up the preschool property, including painting, doing minor repairs to the building, and cleaning up the outdoor areas! We met old friends and made some new ones as we worked together to improve our school--emphasis on OUR. As my work party buddy pointed out, “That’s my patch! I weeded that patch!” That was one of the welcome bonuses of helping out at the work party: the unexpected feeling of ownership and belonging. We weren’t just helping to clean a building; we were helping make OUR preschool an even better place for OUR kids! As I was pulling out some blackberry bushes, it was very easy to picture my daughter running around and playing in that specific area. When I was done and headed back to the preschool to see what to do next, I was momentarily taken aback by the fact there were FIVE people painting trim--talk about teamwork getting the job DONE!  

Fall 2017 Work Party.png

Switching gears back to routines, there’s only a week left in September before we move to our Autumn-themed October! Enjoy the last week in September while learning and getting into the flow of the school routines! As a new member, I can attest feeling like a fish out of water during some points in the class--and I can also point out the gratitude I feel when a seasoned member points me back in the right direction! Don’t forget to ask questions if you feel lost (everyone is new at some point and even seasoned members may need a refresher!), and please don’t hesitate helping someone looking confused!

Once we hop into October, get ready for some great themes as we cover fall, pumpkins, corn, and feelings and emotions! For the blog, I’d love to cover some of the topics you find in class, so please let me know if you have any anecdotes or tips to share! Specifically, I’d love to know:

  1. What are some of your favorite things to do in the fall?

  2. What are your favorite ways of decorating a pumpkin?

  3. Do you have some costume tips to share?

  4. How do you deal with strong feelings and emotions in your family?

  5. Have you ever had to deal with a tantrum in a public place?

Feel free to comment below or send me an email at blog@bothellfamilycoop.org

"Go Outside and Play!"

By Julia H.

If you're like me, you might remember being called in from outside because it was time for dinner (actually, if you're really like me, you don't remember that at all, because you ventured well out of auditory range when you played outside). Changes in cultural norms and, in many states, legal requirements, mean that unsupervised, unstructured outside play may be difficult to maneuver. So what are some tricks to helping create more opportunities for outside play?

  • Include the kids in your fitness routine: if you like to walk, bike, or run, skip the treadmill or stationary bike bring the kids along for an outdoor workout. You might need to slow your pace, but this can be offset somewhat by remaining out and about for more time.

  • Think outside the laundry basket: If getting household chores done is a limiting factor in allowing your charges time outside, try to think of tasks that can be done while keeping an eye on playful kids. Grocery lists can be written, calendars can be updated, and laundry can be folded (at least in small batches) while kids play.
  • Walk to the store: If you happen to live within walking distance of business you frequent for groceries or other household items, try walking instead of using a car, taking the bus, or otherwise using a motor vehicle.
  • Make good use of your community: whether this means taking advantage of neighborhood parks, or finally visiting the neighbor with the big fenced-in backyard, it's worth seeking opportunities for outside play, particularly if your home doesn't have much access to safe outdoor play spaces.

Curious about the benefits of outdoor play? Check out this article from the National Wildlife Federation. What strategies do you use to create outdoor play opportunities for the kids in your care? Send your ideas to weeklysqueak@bothellfamilycoop.org and they may be featured in a future Squeak!

"There's no such thing as bad weather, only bad clothing."

By Julia H.

Chances are that, if it hasn't already started raining by the time you read this, it will start within the next three hours. Rainy season is upon us, which means new challenges when it comes to making sure you and your kids are able to spend time outside. And, if you're new to BFCP, you might not realize that they really do mean it when they say the kids go outside in all weather conditions!

So, how can we dress the kids in our care (and ourselves!) so that outside time is fun, even when it's chilly and wet?

  • Embrace layers: sometimes a warm undershirt makes all the difference in the world, and a wool sweater will keep you warm even when it's wet (which explains a lot about sheep, if you think about it). Layers are especially helpful during transitional seasons, when it might be quite chilly in the morning and hot in the afternoon.

  • Make sure your foot and headwear is waterproof: Rain boots are definitely an essential, and a waterproof raincoat with a hood will protect little ones from both the wet and from the wind.

  • Bring an extra pair of socks: This is one I learned the hard way (and especially important for the Pre-K kids, who have outside time in the middle of their preschool day, or students in any other class who might have other things to do after school). It's hard to be comfortable and helpful with cold, wet feet, so stash an extra pair in your car or cubby for a quick change after time outside!

Here is an article with some interesting tips for dressing for outdoor preschool. What's your favorite trick for making sure you get outside in the thick of rainy season?

Easing the Transition: Helping your kids switch back to their school routine

By Julia H.

After a summer full of play, relaxed routines, and (relatively) flexible schedules, it can be tricky (for kids and caregivers, too!) to switch back into school mode. Here are some tips to aid the transition:

  • Is your child nervous? You can use roleplay to practice aspects of school that seem intimidating to help your child build confidence before school starts!

  • Are you nervous? That's okay and normal, too! Children are perceptive and know when their caregivers are feeling sensitive. If your child can handle it, you can talk openly about your worries, and what you are doing to manage them. If your child isn't ready for that kind of conversation, try to make time to do things that help you feel calm.
  • Although it's fun to add celebratory back-to-school family activities, you might want to have them before school starts, or wait until a few weeks into the school year. Returning to school can be tiring, and adding extra activities might prove to be a little too much to handle! Waiting can make things easier on everyone.

For more tips, check out this article from PBS. Have any great tips we missed? Email me and they may be featured in a future Squeak!